How to Make a Sourdough Starter from Scratch
There’s something about flour and water coming alive. On our farm in the Karoo, it’s the closest thing to alchemy — a simple mix that transforms into the heart of a sourdough loaf. If you’ve ever been curious about starting your own sourdough journey, let’s dive in. Making a sourdough starter from scratch is easier than you think, and it’s the first step to homemade bread that will fill your kitchen with the warmest, most irresistible smells of freshly baked goods.
Why Start a Sourdough Starter?
Before we get into the nitty-gritty, let’s talk about why you should bother. A sourdough starter isn’t just an ingredient; it’s a living thing. It’s the key to flavorful bread with that perfect balance of tang and chew. Plus, it connects you to an ancient tradition of baking. Knowing your bread begins with wild yeast from your own home? That’s pretty special.
If you’re in a hurry to bake but still want the sourdough experience, check out my dehydrated sourdough starter. It’s a shortcut to bread bliss, but if you’re ready to roll up your sleeves, keep reading!
Getting Started: The Basics of a Sourdough Starter
Here’s the beauty of it: all you need are two ingredients and a little patience. Flour and water are all it takes to capture wild yeast and natural bacteria. Together, they create the bubbly, tangy magic that makes sourdough bread so unique.
What You Need:
- Flour: Unbleached, all-purpose or whole wheat are great choices.
- Water: Filtered or spring water is best. Chlorinated water can interfere with fermentation.
- A clean jar or container.
- A spoon or spatula for stirring.
- A kitchen scale.
- A breathable cover, like a clean cloth or coffee filter.
Day 1: Flour Meets Water
Combine 50 g of flour with 50 g of water in your jar. Stir until smooth, making sure there are no dry bits of flour. Scrape down the sides, cover loosely, and place the jar somewhere warm (around 21-25°C). That’s it for Day 1! The starter might look lifeless for now, but trust the process.
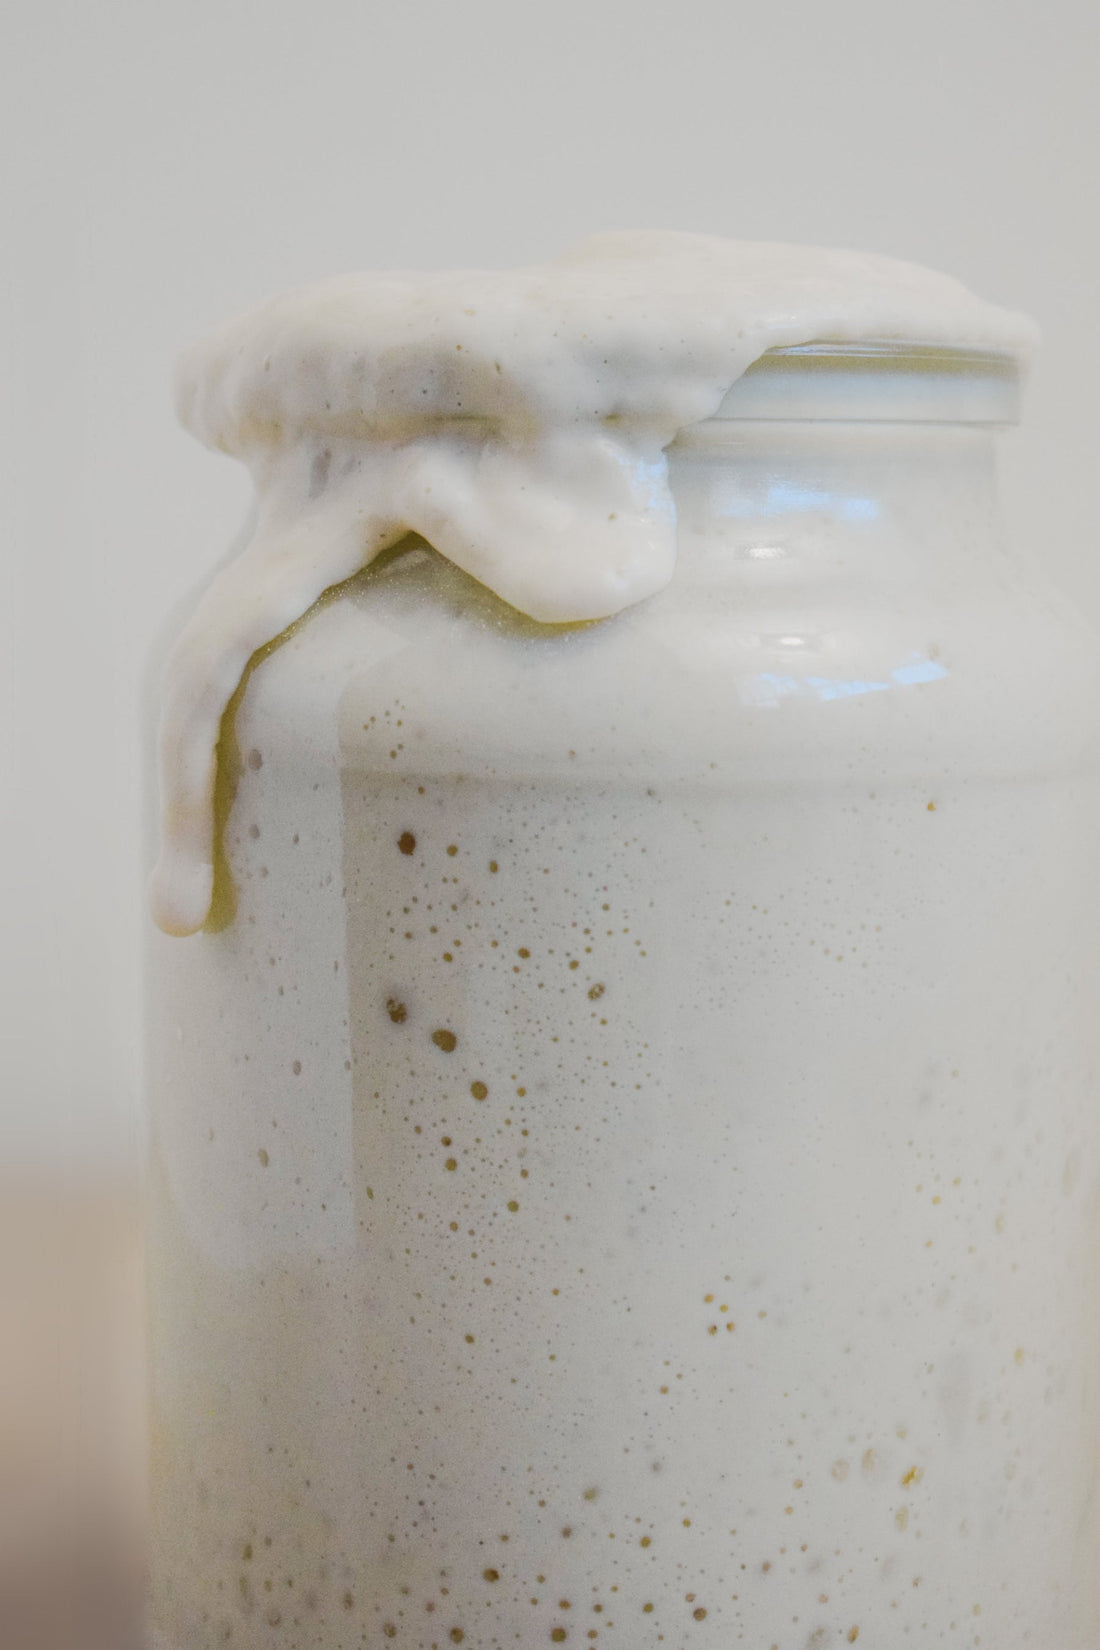
Day 2: The First Bubbles
By Day 2, you should see a few bubbles. They’re small signs of life as wild yeast and bacteria begin to activate. Discard half the mixture (don’t worry — it’ll grow back), and feed it with the same ratio: 50 g of flour and 50 g of water. Stir well and let it rest.
Fun fact: On the farm, I’ve learned to time my feedings with other daily routines. While the goats are busy munching on lucerne, I’m feeding my starter. We’re all creatures of habit around here.
Day 3: The Smell of Progress
Things are getting interesting! Your starter might have a tangy, fruity smell now, and the bubbles should be more pronounced. Repeat the discard-and-feed process. This rhythm of feeding helps the starter develop strength.
If it’s cold where you are, place the jar somewhere cozier, like near a sunny window or wrapped in a towel. A consistent, warm environment is the secret to a thriving starter.
Days 4-7: Growing Stronger
Each day, you’ll notice your starter becoming more active. It’s alive and kicking! Keep up with the discard and feeding routine. By Day 7, your starter should double in size within a few hours of feeding. When it does, you’re ready to bake.
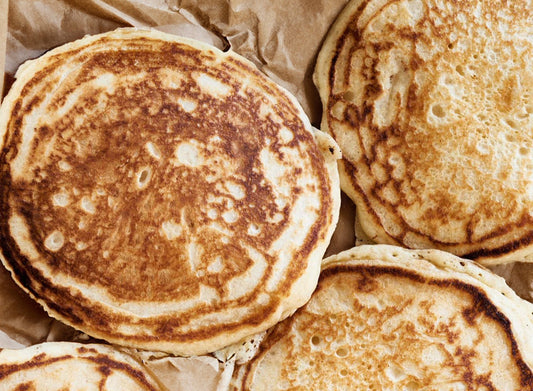
For your first recipe, why not try this easy sourdough pancake recipe? It’s a great way to celebrate your new kitchen companion.
What If Things Go Wrong?
Even in the Karoo, where the air is dry and the seasons are extreme, sourdough starters find a way. But sometimes, things don’t go as planned. Here are some tips:
- No Bubbles? Try using whole wheat flour for a few feedings. It has more nutrients to kickstart fermentation.
- Weird Smell? If it smells like acetone, don’t panic. It’s a sign your starter is hungry. Stick to the feeding schedule.
- Mold? Unfortunately, this is a dealbreaker. Start over, and make sure your jar is clean and dry before you begin.
Sourdough Starter: A Kitchen Companion
A sourdough starter isn’t just an ingredient; it’s a little piece of your kitchen that’s alive and growing. Over time, it becomes uniquely yours, influenced by the flour you use, the water you add, and even the air in your home. Naming your starter is optional, but highly encouraged (mine’s called Nooi).
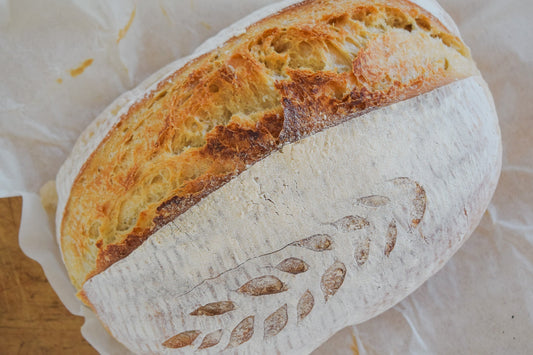
Once your starter is healthy and active, the possibilities are endless. Try sourdough bread, waffles, or even pizza dough. Each recipe carries the signature tang of fermentation and the satisfaction of homemade goodness.
Final Thoughts
Creating a sourdough starter from scratch is more than a recipe; it’s a ritual. It’s about slowing down and appreciating the process, connecting with age-old traditions, and savoring the rewards of your effort. Whether you’re baking your first loaf or your fiftieth, the journey always starts here.
If you’re ready to bring the Karoo into your kitchen, check out my dehydrated sourdough starter or explore more recipes on the blog. Share your sourdough adventures with me — I’d love to see what you create!